A Recursive Image
A guide to your first recursive graphical program.
This note give an explanation of a simple recursive graphics program, Recursion.java. Download the code below to follow along.
NOTE. The exercises suggested here are for your own edification. You do not need to do them or turn anything in. However, doing these exercises will be instructive.
What does the program do?
Before looking at the code, here is the output the program generates:
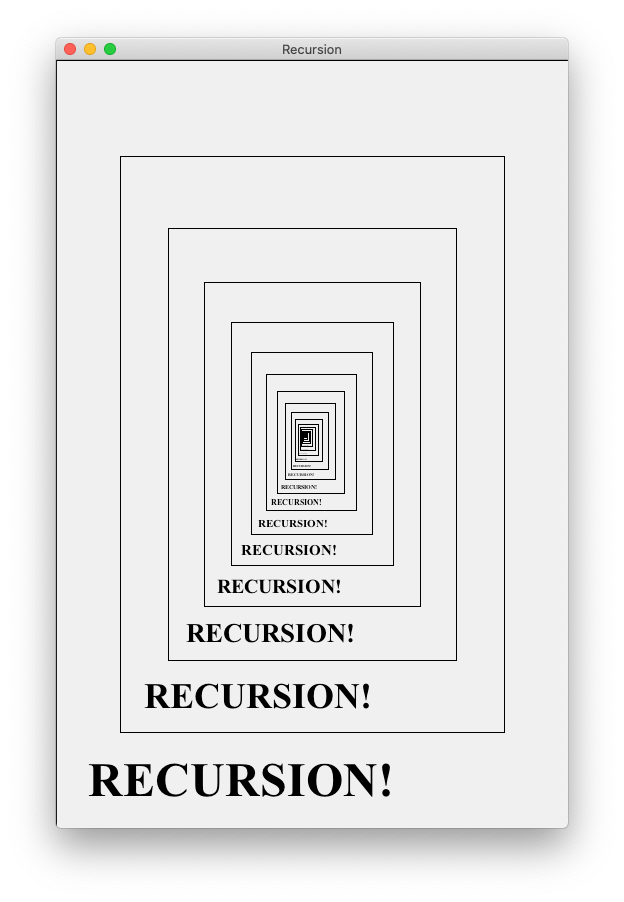
It consists of a sequence of nested squares, each with the word “RECURSION!” written at the bottom.
How is the picture generated (without code)?
Before going through the code, we should understand how conceptually to draw the figure. A good place to start is the following exercise: Suppose you are talking to a friend on the phone. How would you describe the image to them? How would you explain how to draw the picture for themself?
Here’s how I’d probably explain it. In order to draw the figure:
- Draw a rectangle.
- At the bottom of the rectangle, write the word “RECURSION!”.
- Draw a smaller rectangle inside the larger rectangle.
- Repeat steps 2 through 4 for the smaller rectangle until you can’t draw any smaller.
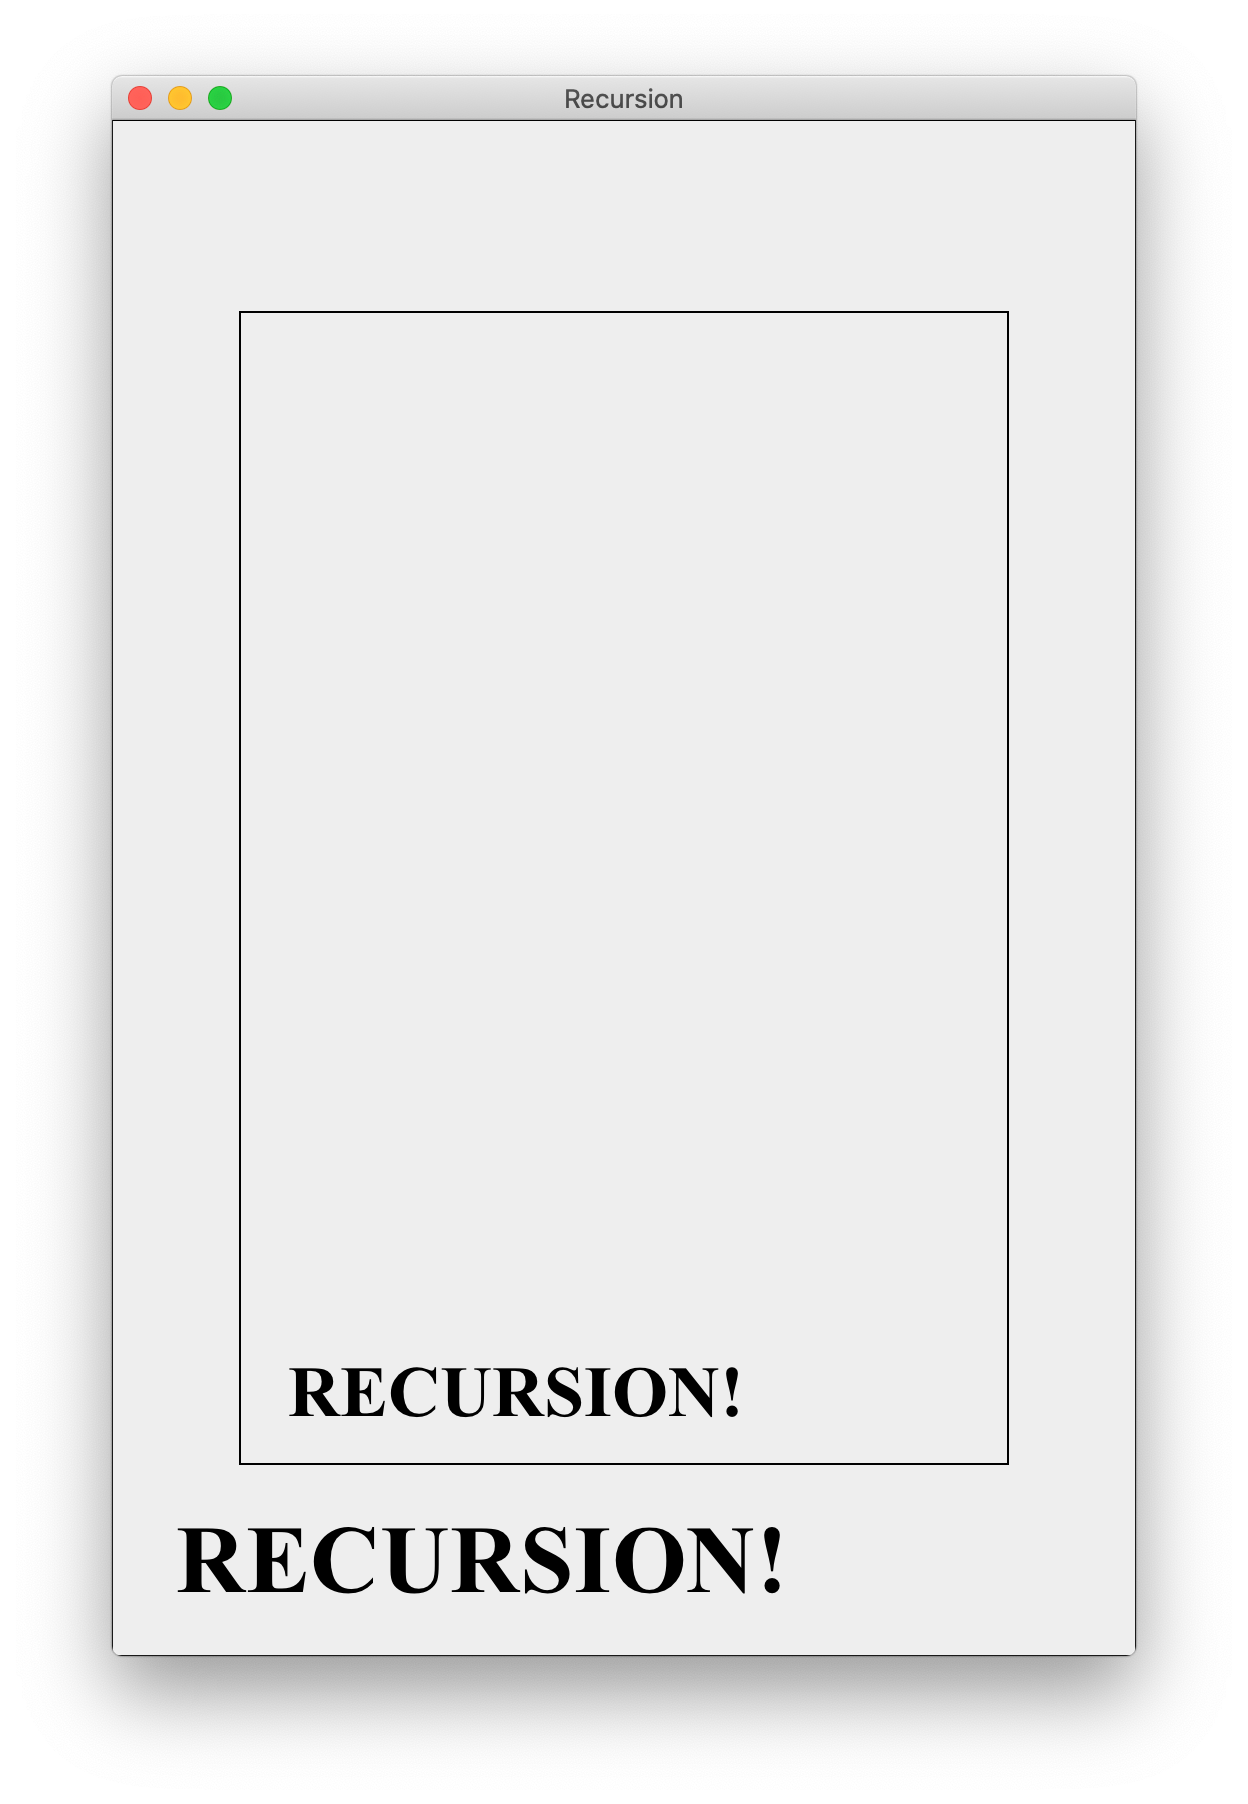
Following instructions 1 through 3 once, you’d draw a figure like the following:

Now performing steps 2 and 3 again, we’d get the following figure:
Continuing this process indefinitely, we’d produce the original figure. Now the “trick” is to see that the process described above has a simple recursive description. Namely, in order to draw the figure, we should (1) draw a rectangle, (2) print the text at the bottom of the rectangle, and (3) draw a smaller version of the same figure above the text.
A little more formally, we could start to structure our code with a method drawFigure as follows.
1
2
3
4
5
6
7
    void drawFigure(...) {
        // code to draw rectangle and text
        ...

        // draw a smaller figure above the text
        drawFigure(...);
    }
What arguments do we need to send to the method drawFigure in order for it to do its job? At a minimum, we must tell the method where to draw the rectangle and text, as well as how large they should be. Additionally, we need to pass a GraphicsObject to the method, so that the program knows which window to draw the figure on. Finally, it might be useful to keep track of the depth of recursion, in case we want to stop drawing at a pre-specified depth.
So the signature of the method drawFigure should be something like
1
    drawFigure(Graphics g, int x, int y, int width, int height, int curDepth)
We must also specify the dimensions and location of the smaller figure to be drawn. However, instead of passing these as explicit parameters, we can compute them from the current values of x, y, width, and height.
Looking at the code
Now that we’ve described how we plan to generate the picture, let’s look at the actual code. A bunch of the code is the standard graphics setup. The first interesting lines are
1
2
3
4
5
6
7
8
9
10
11
12
13
14
        public static final int BOX_WIDTH = 512;
        public static final int BOX_HEIGHT = 768;

        // relative size of recursive image
        public static final double RATIO = 3.0 / 4;

        // ratio of text size to box height
        public static final double TEXT_RATIO = 1.0 / 16;

        // ratio of text margins to box width
        public static final double TEXT_MARGIN_RATIO = 1.0 / 16;

        // message to be printed
        public static final String MESSAGE = "RECURSION!";
The constant RATIO determines the relative size of one step of the drawing and the next recursive step. For example, if we draw a rectangle with width width, then the next recursive call should have width width * RATIO. Since RATIO has type double and a width should be an int (since it is a number of pixels), we need to cast the result to an int type with as follows.
1
    int newWidth = (int) (width * RATIO);
Similarly, the other constants define the sizes of different parts of the figure relative to the current rectangle being drawn.
Exercise. Play around with the constant values and see how it changes the image!
Next we see a method that draws a box and text with the following code.
1
2
3
4
5
6
7
8
9
10
11
12
13
14
15
16
17
18
19
20
21
22
23
24
25
26
27
28
29
        /*
         *  method drawTextBox(Graphics g, int x, int y, int width, int
         *  height) draws a rectangle with text at the bottom. x and y are
         *  the coordinates of the upper left corner of the rectangle;
         *  width and height specify the width and height of the box.
         */
        private static void drawTextBox(Graphics g, int x, int y, int width, int height) {

        // draw a rectangle
        g.setColor(Color.BLACK);
        g.drawRect(x, y, width, height);

        // determine the text size
        int textSize = (int) (height * TEXT_RATIO);

        // determine the text margins
        int textMargin = (int) (width * TEXT_MARGIN_RATIO);

        // coordinates to print message
        int xCoord = x + textMargin;
        int yCoord = y + height - textMargin;

        // set up the font
        g.setColor(Color.BLACK);
        g.setFont(new Font("Times New Roman", Font.BOLD, textSize));

        // print the text
        g.drawString(MESSAGE, xCoord, yCoord);
        }
There really isn’t anything exciting happening here—most of the work is going into formatting to make sure the text prints in the correct place relative to the rectangle. Nonetheless, it is important to get all of this functioning correctly. I wrote the drawTextBox method first to make sure it looked right before trying to implement any of the recursive stuff.
Next, we come to the method where all of the magic happens, drawFigure.
1
2
3
4
5
6
7
8
9
10
11
12
13
14
15
16
        private void drawFigure(Graphics g, int x, int y, int width, int height, int curDepth) {

        drawTextBox(g, x, y, width, height);

        // draw a smaller figure if the new figure will have width at
        // least 1 pixel
        if (width * RATIO >= 1) {
            int xMargin = (int) (width * (1 - RATIO) / 2);
            int yMargin = (int) (height * (1 - RATIO) / 2);
            int newWidth = (int) (width * RATIO);
            int newHeight = (int) (height * RATIO);

            drawFigure(g, x + xMargin, y + yMargin, newWidth, newHeight, curDepth + 1);

        }
        }
The first thing drawFigure does is draw a text box with the right parameters. The next lines
- determine whether or not to draw a smaller figure
- determine the right location and size of the smaller figure to be drawn
- recursively calls
drawFigureto make the smaller figure
The last thing our code does is make the initial call to drawFigure. This is done in the paintComponent method:
1
    drawFigure(g, 0, 0, BOX_WIDTH, BOX_HEIGHT, 0);
Note that the initial depth of this call is 0, and the depth increases with each subsequent call.
Design tip
We could have designed a single method that both recursively called itself, and drew the boxes and text. Instead, I chose to make two different methods: one recursive drawFigure and another “helper method” drawTextBox that handles the actual drawing and formatting. In general, it is good practice to favor writing a few simple methods instead of a single long method. Have your code more compartmentalized makes it easier to read, understand, and modify. Having short, simple methods is especially helpful if you are using recursion, because even a very simple recursive function can have incredibly complicated behavior.
Modifications
If you want to practice, here are a couple of simple modifications you can make to the Recursion.java program.
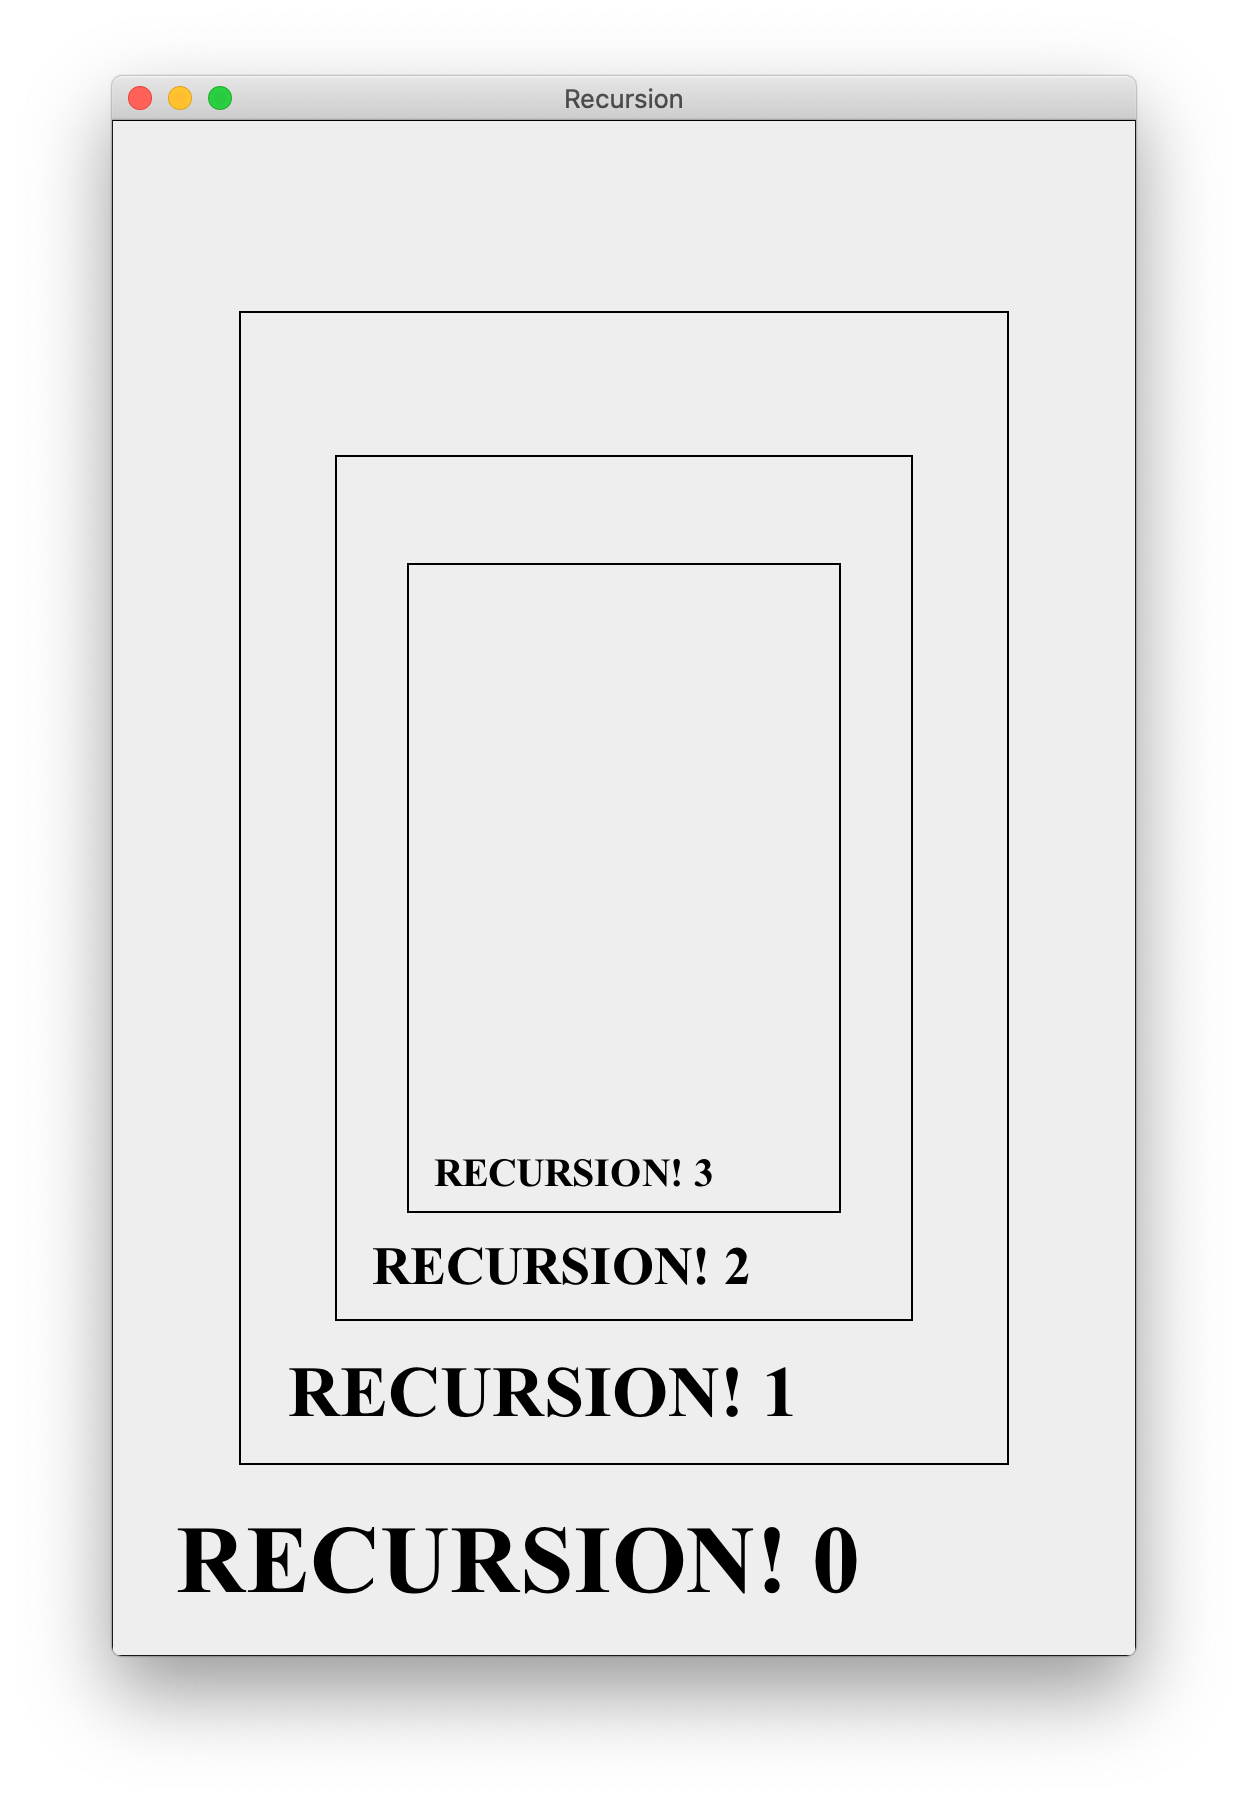
Exercise. Change the code so that in addition to the message “RECURSION!”, each line also prints the depth of recursion of the call to drawFigure in which the text was printed. The new output looks like this:
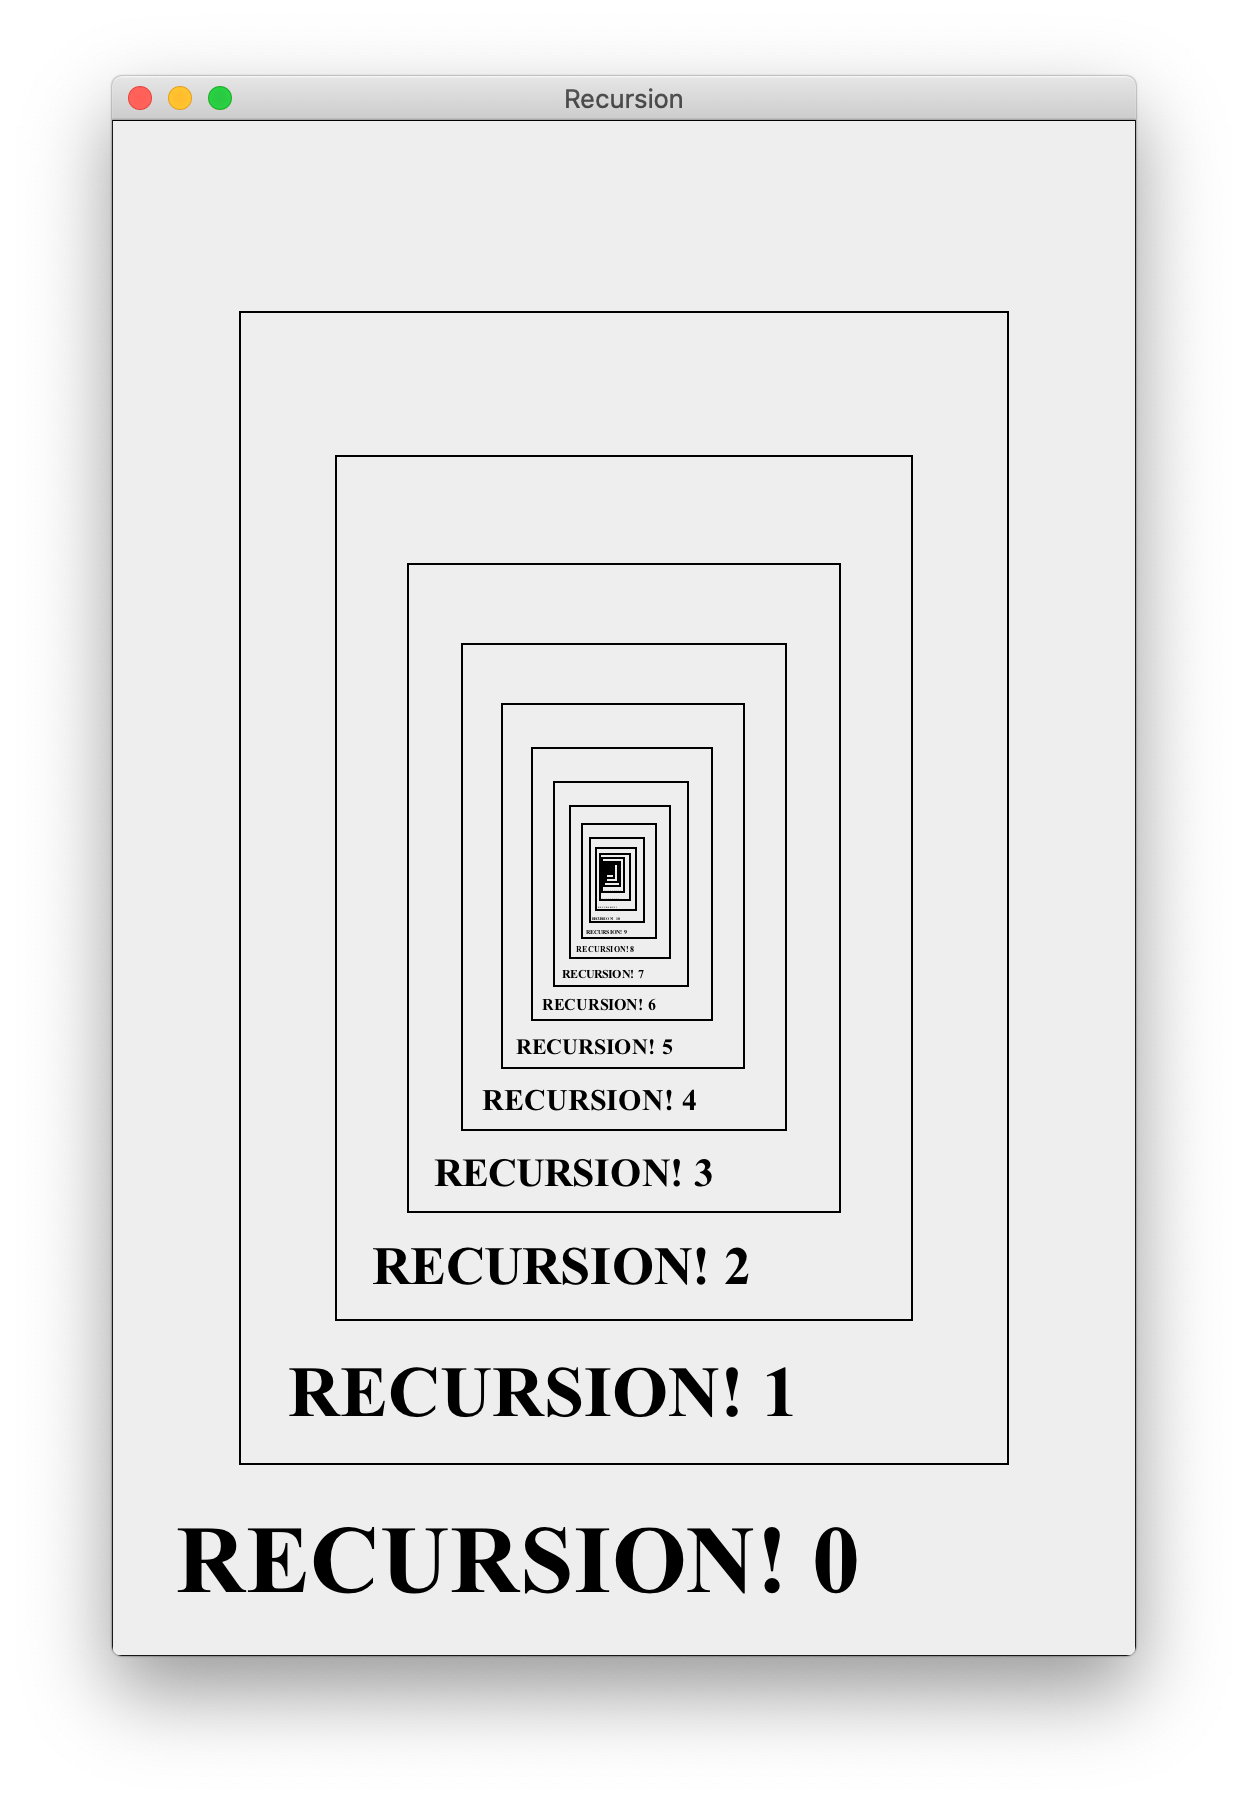
Exercise. Change the code so that the program stops printing at a depth specified by the user via a command line argument. For example,
1
    java Recursion 3
will generate